When summer’s in full swing, there’s nothing like taking advantage of the season’s freshest produce—and…
Why Grilled Pizza?
Since I first discovered Vancouver’s own Holy Napoli pizza dough I have been making pizza at home once a week (and have gone out for pizza a lot less, as a consequence). The dough is delicious, making pizza is fun, and I can put whatever I want on it – and since I have some dietary restrictions, that’s a huge bonus for me. It’s a triple win. However, making pizza requires you to turn your oven to the highest temperature possible, and now that the weather is warming up, this means my kitchen is unbearably hot. Luckily, I’ve recently discovered the magic of grilled pizza.
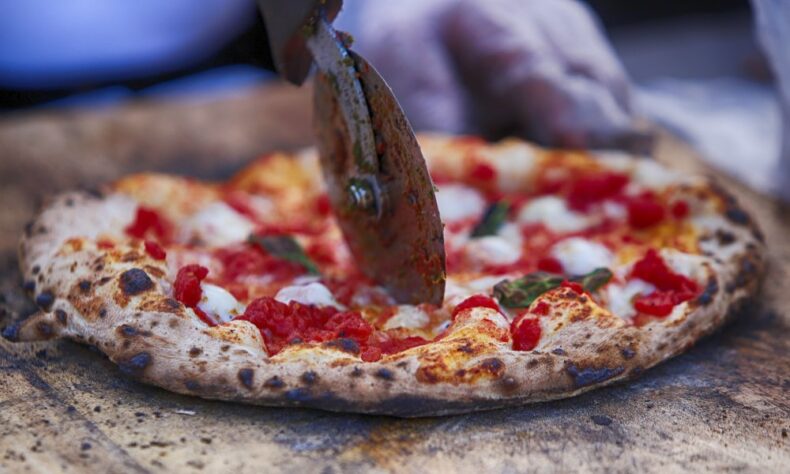
Cooking a pizza outdoors on your BBQ might seem a little odd at first, but it’s actually a much better way to cook a pizza any time of year. The best pizza is made in the hottest oven possible, and since your BBQ gets way hotter than your oven it just makes sense. Your crust will be crispier, and it will get those little char spots just like fancy wood-fired pizzas. The key is not to let it get too charred, and I will admit it has taken me a few tries to get it just right. But it is so worth it. I will not make pizza inside again.
How To Do It:
- Get your grill ready. Make sure your grill is clean and heat it up to around 550 or 600.
- Prepare your ingredients. Get your sauce ready, dough stretched out, and other toppings ready to go. As mentioned, I’ve been fairly obsessed with Holy Napoli dough, but there are great options at every Spud location. Or you could make your own if you are the enterprising type. I like my crust thin, but I’ve found that a little thicker crust works better for a grilled pizza.
- Gather your tools. If you don’t have a pizza peel (those giant spatulas) this may convince you to get one. But until that happens, you’ll need metal tongs, a metal spatula, and an oven mitt if you need one for your BBQ lid.
- Start cooking your dough. Brush one side of the dough with olive oil and place it oil-side down on the grill. Brush the top of the dough with a thin layer of oil, and cook for 2-3 minutes. Lift the dough up with the tongs to check for doneness – you want grill marks, but you want the dough to be just set, not crunchy.
- Top your pizza. There are two ways to approach this. You can flip your pizza over on the grill and work quickly to add the sauce and toppings in place OR if that sounds like and anxiety-inducing nightmare you can remove the dough from the grill and place cooked side up on a tray. Then you can add your toppings in a calm and relaxed manner, and slide them back onto the grill. The downside to doing it this way is that the crust will not be strong enough to support the toppings yet, so you’ll have to slide it off the tray directly back onto the grill, which can be tricky. Or use your pizza peel! Either way, you’ll want to make sure not to overload the pizza. Think more Italian-style, less “meat-lovers deluxe”.
- Cook the pizzas with the lid down until the bottoms are browned and crust is sporting a few little char marks. This should take around 3-5 minutes, but different grills are different, so keep a close eye (and nose) on it the first time to make sure it doesn’t go too far. Then slide the grilled pizza off the BBQ with your tongs and spatula and…
- Let it cool or you’ll burn your mouth! Fun fact, I have never not burned my mouth when eating pizza. As I write this the roof of my mouth is recovering from a pizza burn. Learn from my (repeated) mistakes and let it cool down a bit before you cut it up and eat it.
Worth Noting:
It is EASY to mess this up, especially the first time you try it, so it’s a good idea to have an extra crust to sacrifice in the name of experimentation. Every grill is different, and cooking times will vary greatly from grill to grill. Once you get it right, it will all have been worth it.


