Donating 10,000 meals in Pulses! For #WorldPulsesDay Spud is donating 10,000 meals worth with pulses…
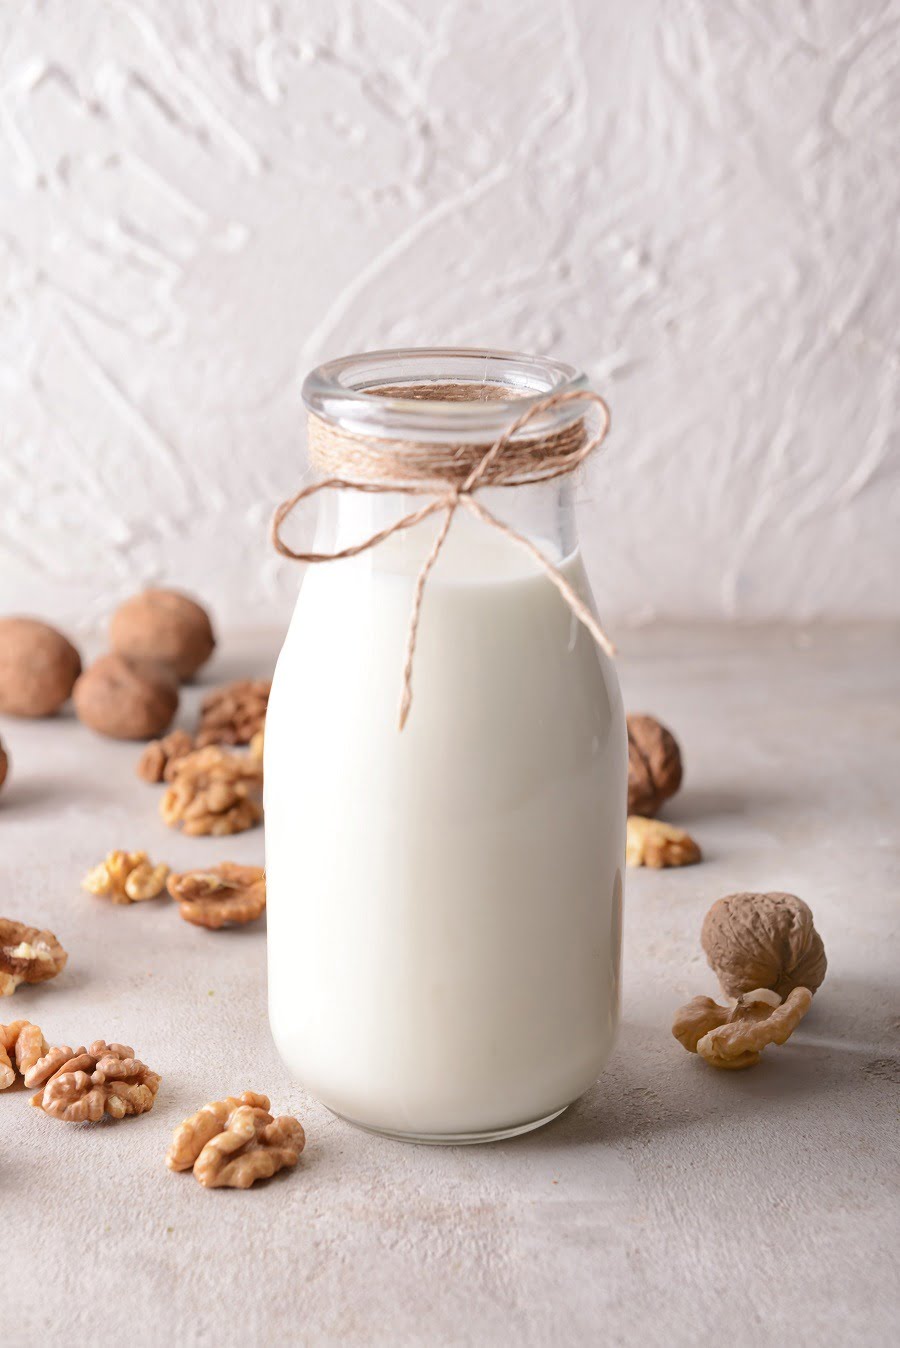
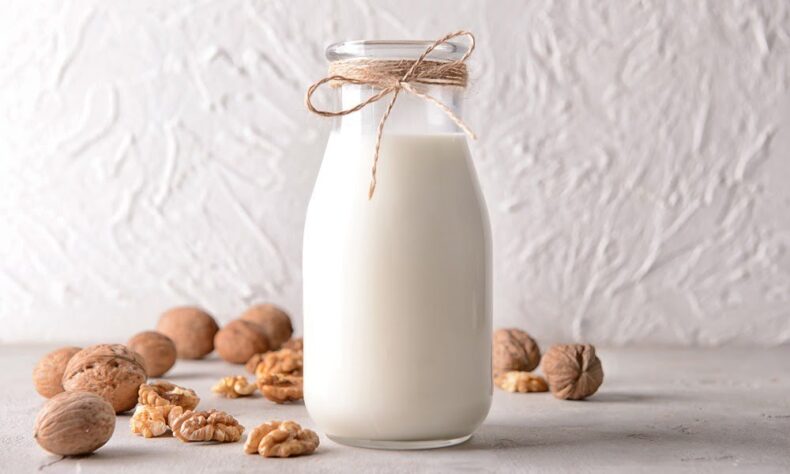
If you’ve ever made almond milk or cashew milk at home, you would know how incredible homemade nut milk tastes. It’s literally nothing like the store-bought stuff. And since we’ve already made almond milk and cashew milk, we thought we’d give walnut milk a go.
Walnuts come with a long list of health benefits.
Walnuts are extremely healthy and contain several antioxidants that are rare and unique to only a few commonly eaten foods. Phytonutrients like quinone juglone are found only in walnuts, and others like tannin tellimagrandin or the flavonol morin are also powerful and found in very few foods. All of these phytonutrients serve as powerful antioxidants with anti-inflammatory benefits that can help with diseases like cancer.
This superfood is also rich in minerals such as manganese, copper, magnesium, molybdenum, and phosphorus. They’re loaded with omega-3 fatty acids, which are primarily found in fish. Omega-3 fatty acids come with a long list of health benefits. It has been shown to fight cancer, cardiovascular diseases, inflammation, and cognitive aging amongst many other health issues.
It’s no secret that walnut milk is extremely healthy for you. But like all homemade nut milks, walnut milk requires a few crucial steps that you must not ignore. Always use raw and organic nuts. Don’t skip the soaking process. And pay attention to the water to nut ratio!

Here’s how to make delicious homemade walnut milk.
Walnut milk runs slightly less creamy than homemade cashew milk and almond milk, so feel free to adjust the water-to-nut ratio to your liking.
What you need:
- 1 cup walnut
- 3 cups water
- 2 tablespoons maple syrup
- Pinch of salt
| SHOP WALNUTS AT Spud! |
How to prepare:
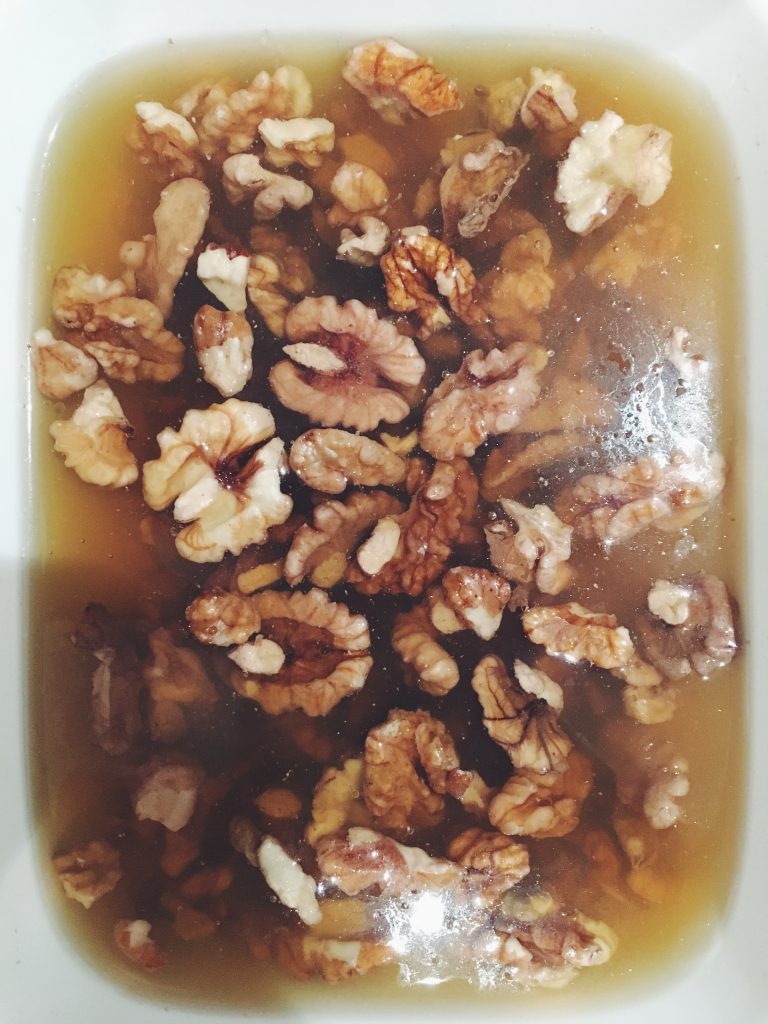
1. Soak the walnuts in water with just enough to cover it overnight. Unlike other nuts, the colour will turn brown. Simply pour out the water and rinse the walnuts.
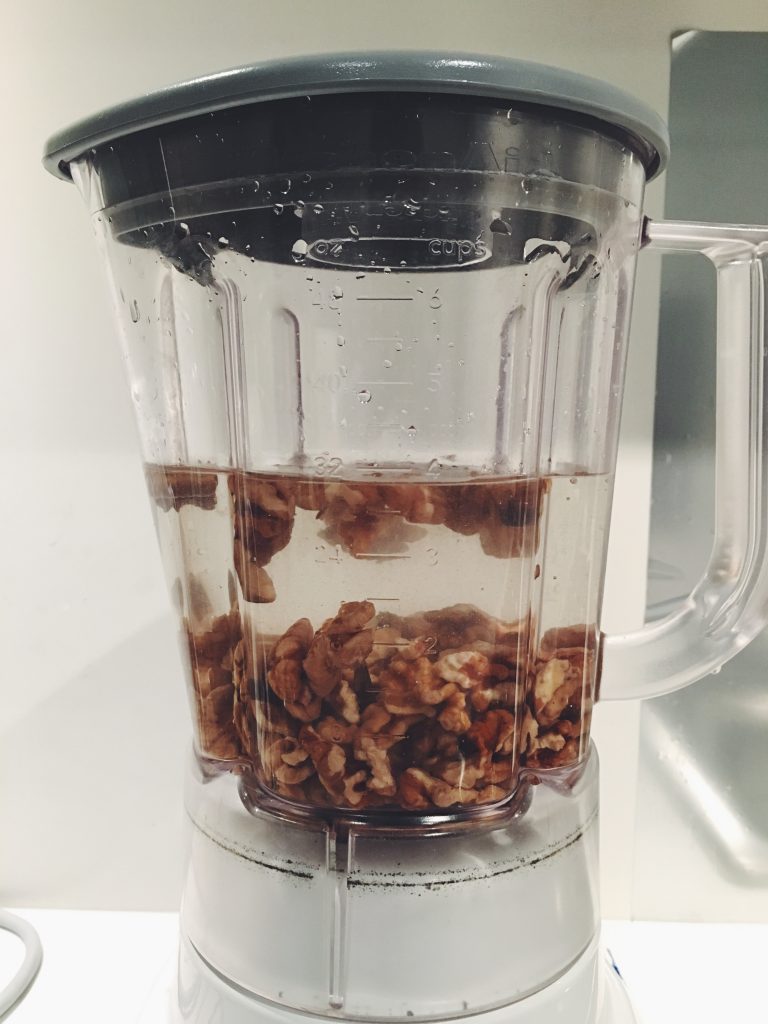
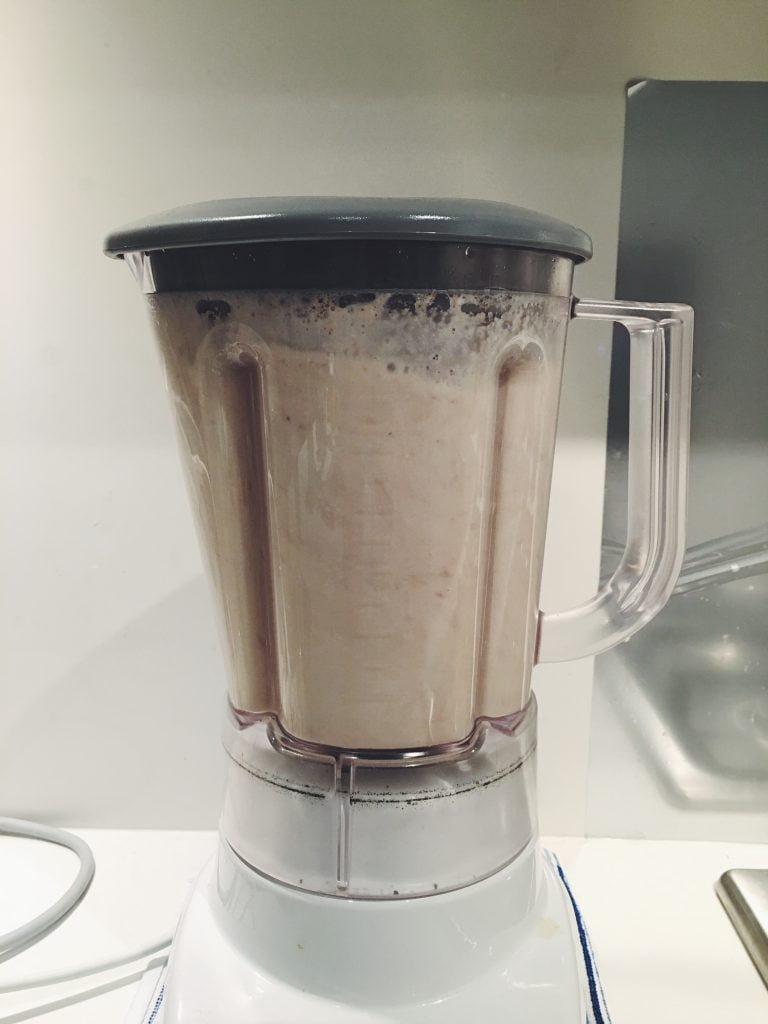
2. Place walnuts in the blender with the three cups of water.
3. Blend on high for two minutes. I usually add the maple syrup and salt about a minute in.
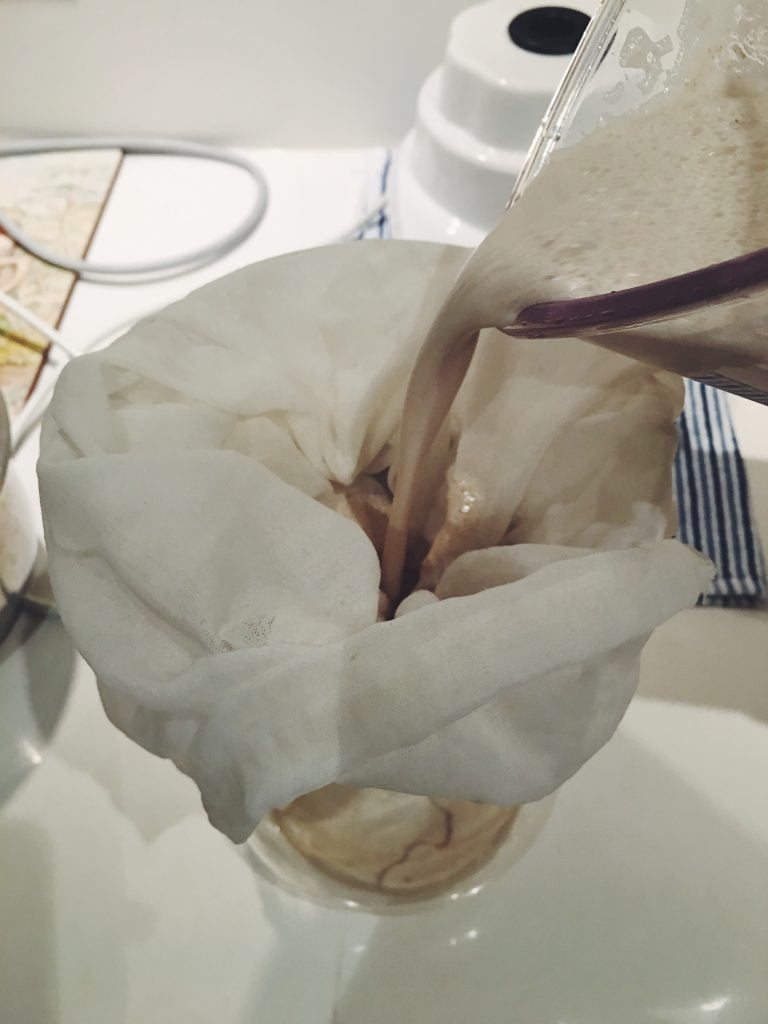
4. Nut milks tend to get very foamy after blending. You can let it sit for about a minute then scoop off the foam. Or if you have a big nut milk bag, pour everything in over a container. Or if you have a big nut milk bag, pour everything in over a container.
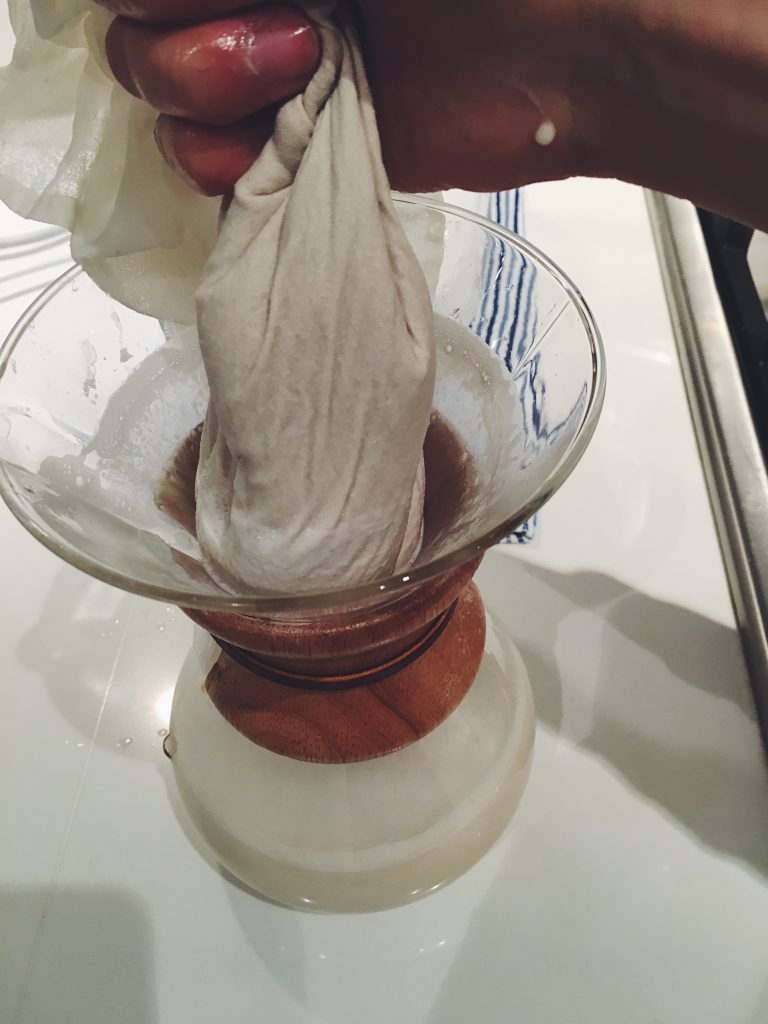
5. Squeeze out the milk until it’s drained.
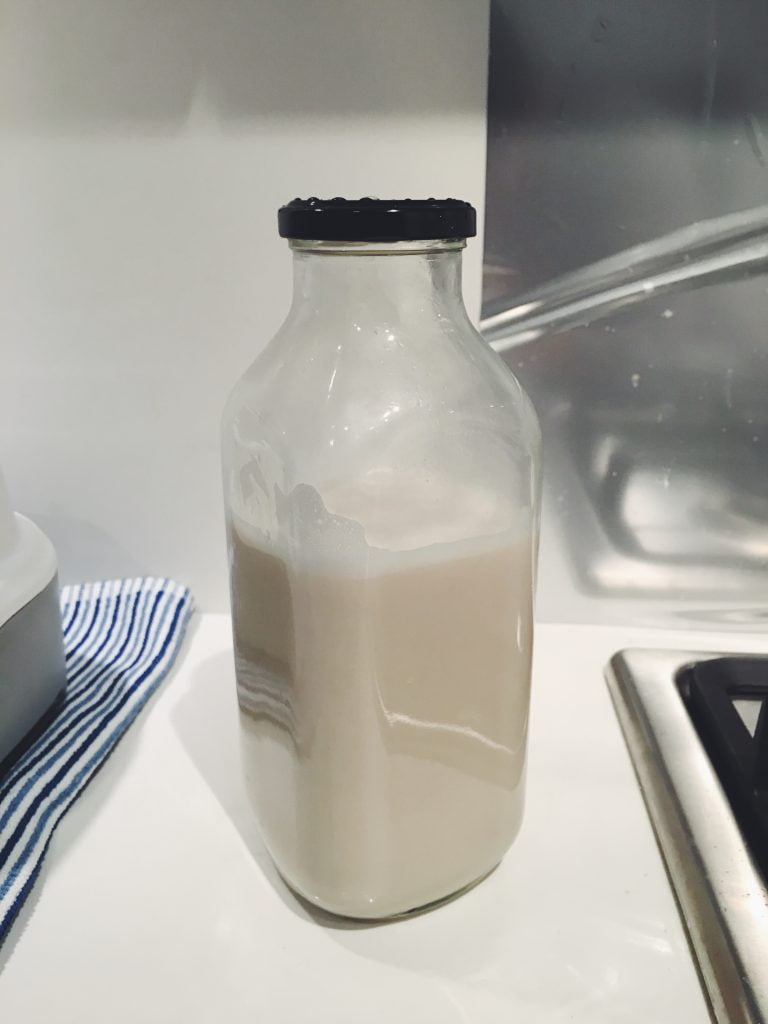
6. Store your walnut milk in a container for up to five days.
And that’s it. Super easy and super delicious. Have you ever made homemade nut milk? Let us know which nut milk is your favourite, and which homemade milk you think we should try next!
