We are strong proponents of roasting a whole chicken here at Spud, and we love our ovens, but for fans of BBQ, you can take their bird outdoors and avoid messing up the kitchen. Here’s our guide for grilling a whole chicken.
 Follow our step-by-step guide to grilling a whole chicken.
 Follow our step-by-step guide to grilling a whole chicken.
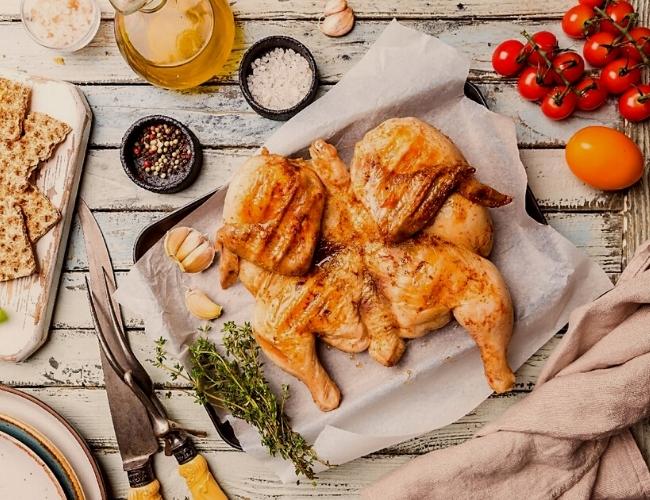
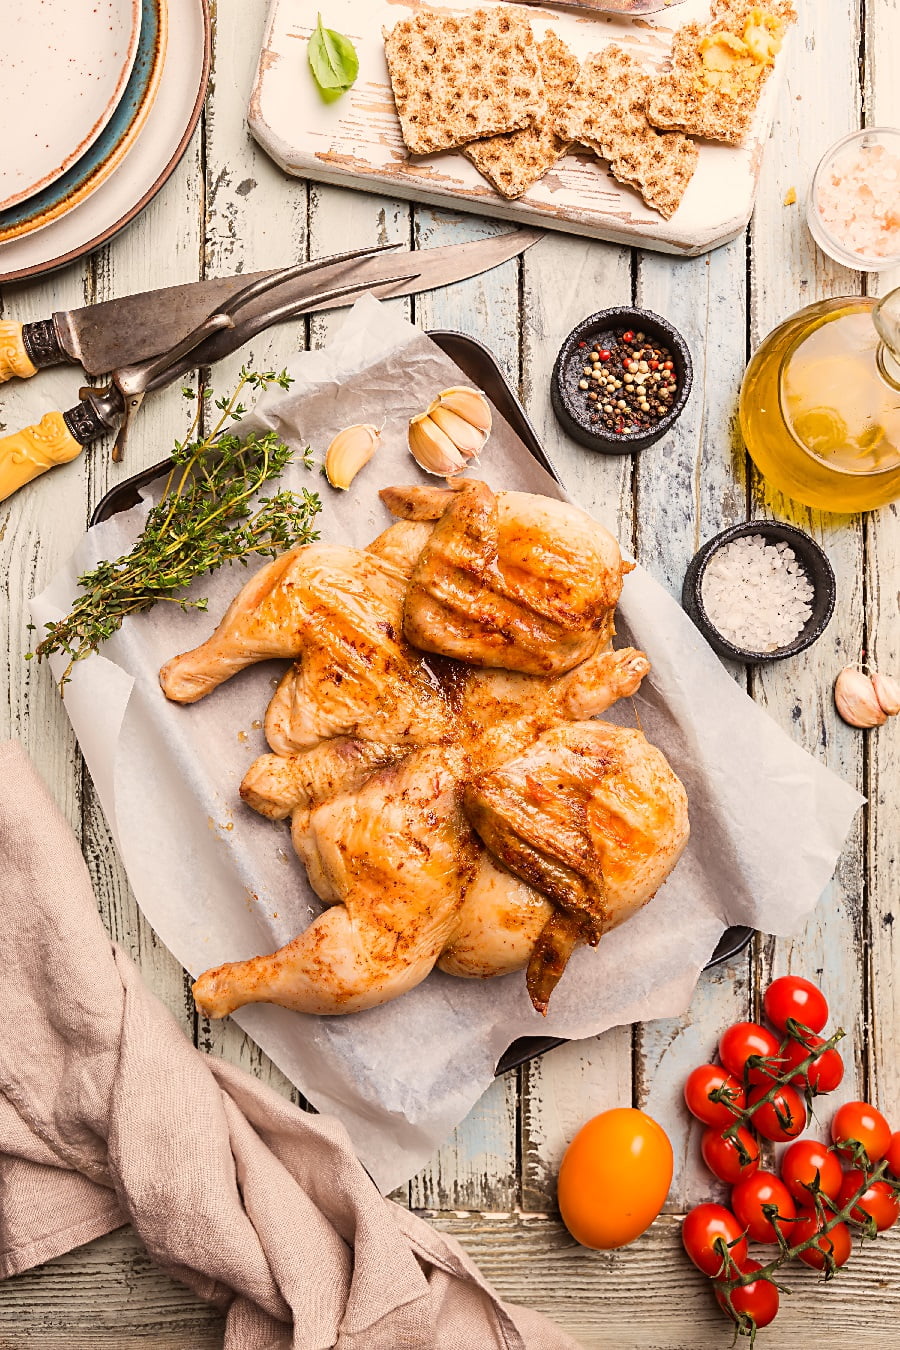
1. Spatchcock It: Basically, this means you remove its spine and flatten it out. When you spatchcock a chicken, the legs and thighs are more exposed to the heat than the breast, meaning they will cook more quickly. That’s good news because the dark meat of the legs and thighs needs to cook longer than the white meat of the breast. This way the breast meat and leg meat finish cooking at the same time, meaning optimum juiciness of both white and dark types of meat. (Check out this video, if you need instructions)
2. Add Seasoning Before You Grill: Taking a little extra time to add a brine, rub, or marinade to your bird before it hits the grill is an investment in future flavour. This means you don’t need to worry about adding sauce or basting towards the end of the cooking process and can relax with a cool drink while your chicken cooks.
3. Make Sure Your Grill is Good to Go: It should go without saying – but just in case, here we go. Make sure you have enough fuel for the grill, and that the grill is clean. Preheat and oil the grates just before cooking so the chicken won’t stick.
4. Use Two Temperatures: When you’re grilling a whole chicken, you want juicy moist meat and crispy skin – two goals that are seemingly incompatible. If you cook the bird at the high heat needed for crispy skin, the meat will be dry and overcooked. For the juiciest, moistest meat, you need to cook it low and slow – but that will leave you with less-than-appetizing skin. The best way to achieve both goals is to first cook the chicken on a lower temperature until it’s a few degrees from done, probably around 60-90 min depending on your bird, followed by a shorter crisping session at a higher temperature.
| SHOP WHOLE CHICKENS |
5. Skin Up, Then Down: For the crispiest skin, start the bird with skin side up at the lower temperature, and only flip it skin side down when you are using the hotter temperature toward the end. Press it down onto the grill with a spatula to make sure all the skin contacts the grill. Make sure you don’t flip it back over – the steam rising from the meat will undo all the crisping in no time.
6. Keep It Covered: Make sure you keep the lid down on your grill – leaving it open will allow heat to escape, and result in a longer cooking time. When it’s covered, the grill has a more oven-like environment, essential for thoroughly cooking your bird. It’ll take a while to cook, so try to avoid opening the grill frequently to peek at it – that will lower the temperature and increase your cooking time. Take its temperature around 60 minutes in to gauge how much longer it’ll need.
7. Use a Thermometer: This may be the single most important thing to note when grilling a whole chicken. Having a less-than-crispy skin may be disappointing, but it probably won’t make you sick or kill you. Chicken needs to reach 165° F to be done. Insert an instant-read thermometer into the thickest part of the meat, being careful not to touch any bones, which can change the reading.
8. Let It Rest: Once your bird is cooked, you’ll want to let it rest for 10-15 minutes so that all the juices don’t escape when you carve it. You want those juices absorbed by the meat, making it extra moist and delicious.

Related Posts